⚔ Core Mechanics
Combat System (CT-Based)
Combat uses a Charge Time (CT) system. Higher AGI = faster actions and more turns per battle.
- Formation: Front/Middle/Back rows — protect your spellcasters!
- Range: Melee only hits front row; spells reach any position
- Status Effects: Sleep, paralysis, confusion can swing battles
- Mastery Bonuses: Spells gain power as you learn more of the same school
- Defend: Reduces damage taken by 50% until your next turn
- Items in Combat: Use consumables on yourself or any ally as a free action
Zone Progression
Experience & Leveling
- Rat (CR 1): 15 XP — starter enemy
- Causeway Giant (CR 9): 495 XP — worth 33 rats!
- Ossuary Sentinel (CR 10): 600 XP — end-game peak
- Key rule: Dead characters don’t gain XP — keep everyone alive!
⚠️ Resource Management
- Rest recovery: Only 5% HP and 10% MP per turn (very slow)
- Ambush risk: 5% chance per rest turn — compounding danger
- Strategy: Bring potions. Retreat to town when resources are low
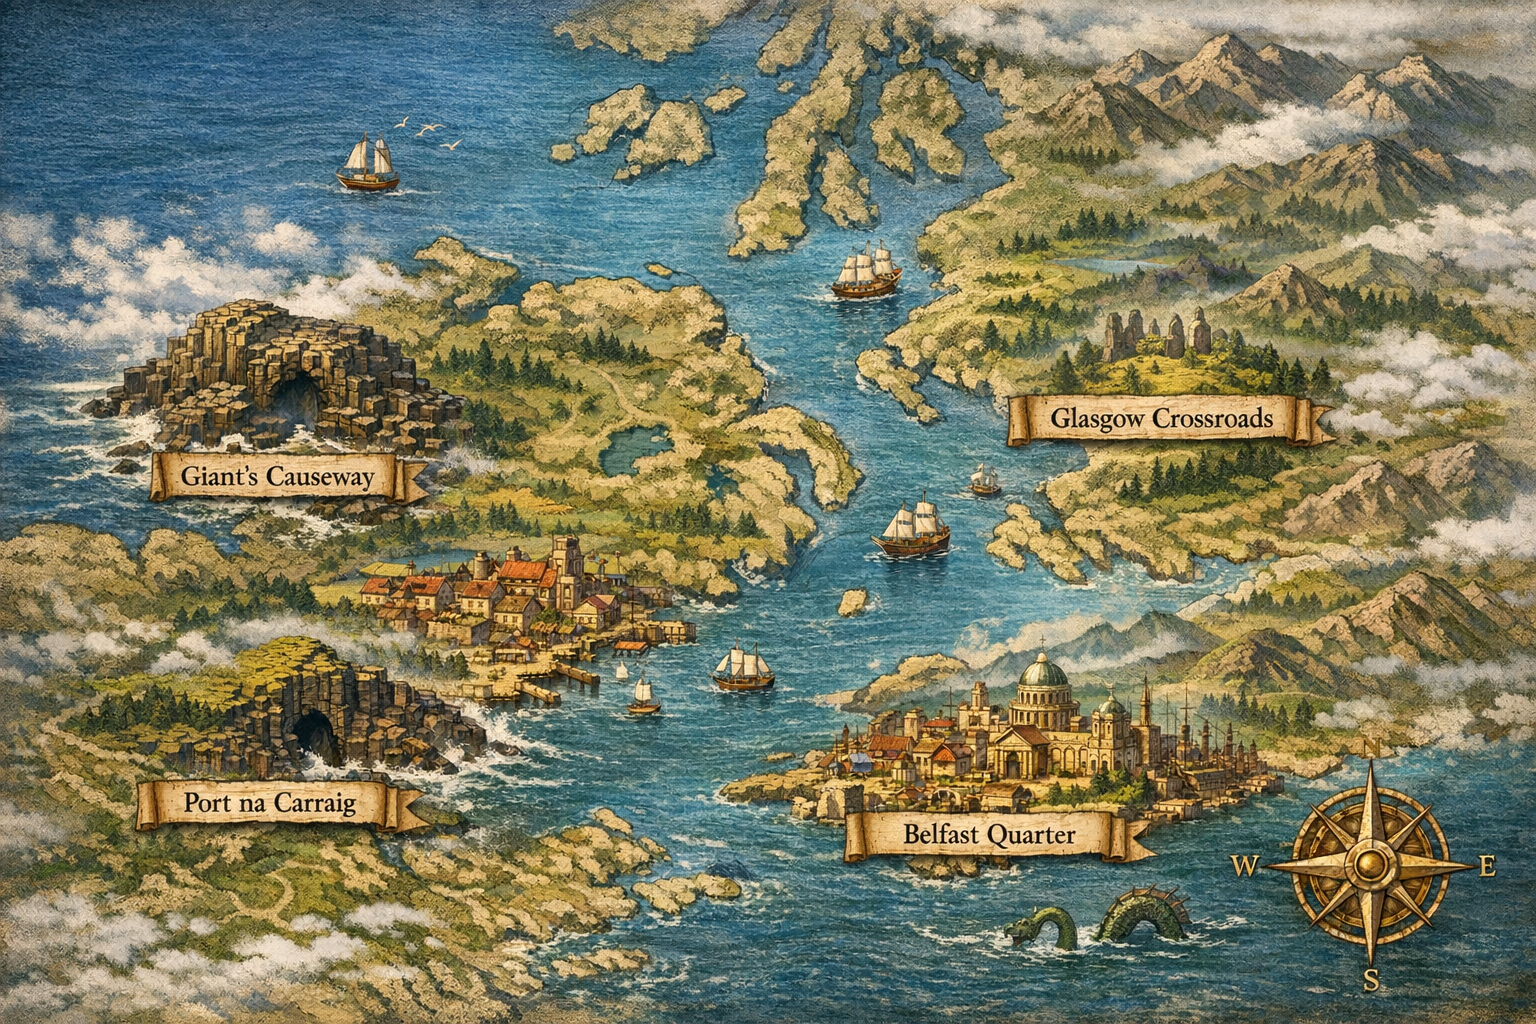
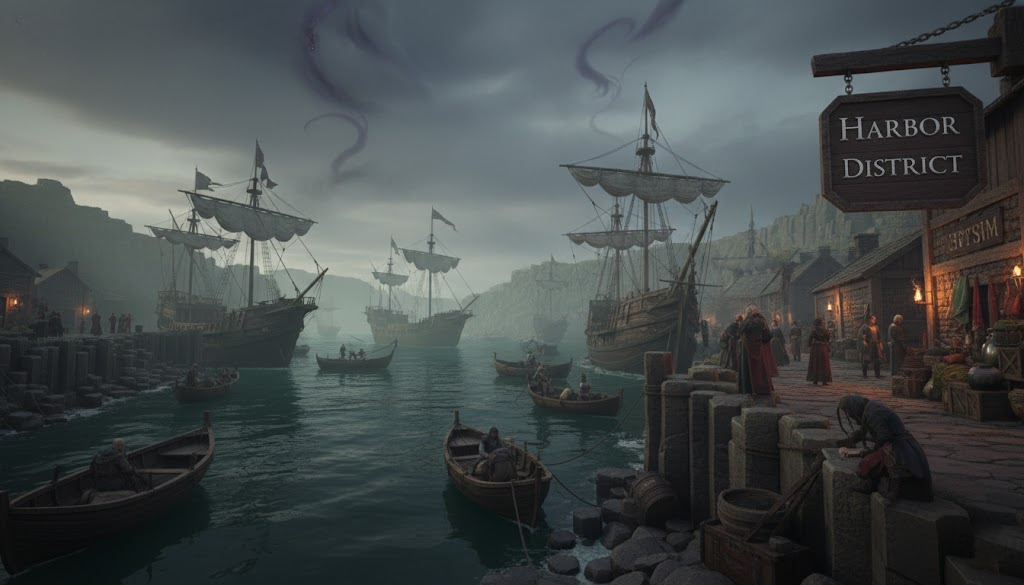
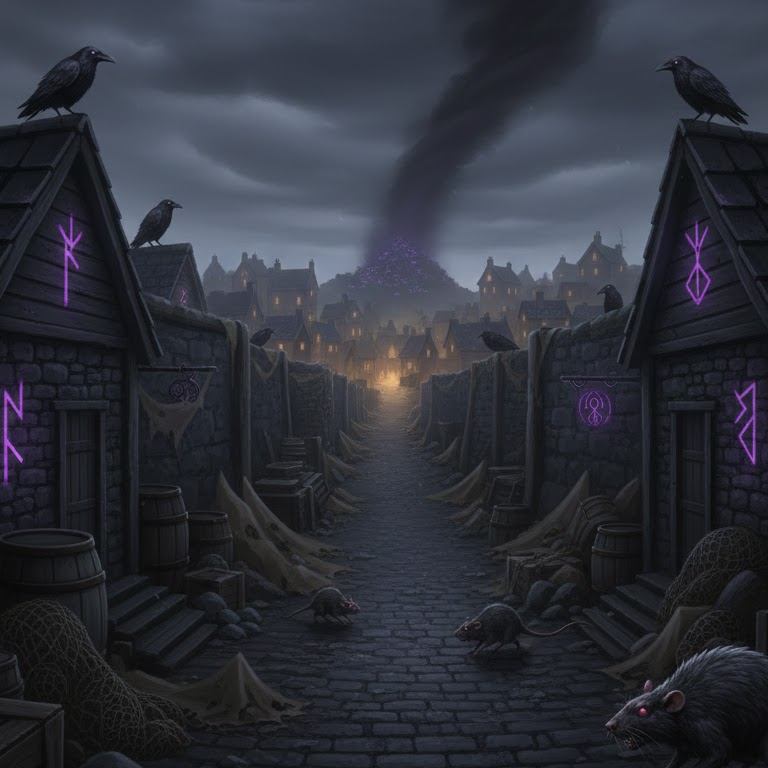
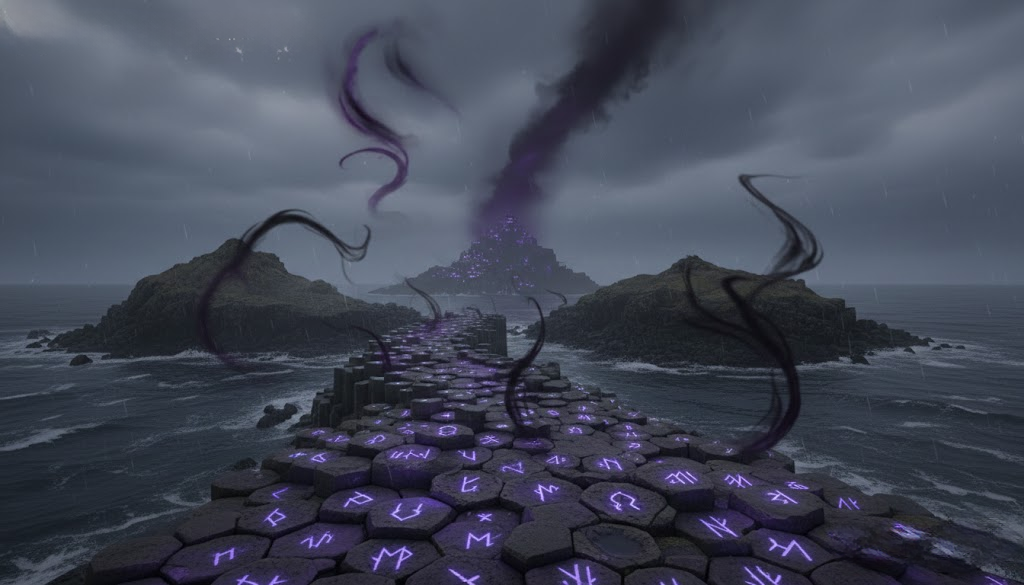
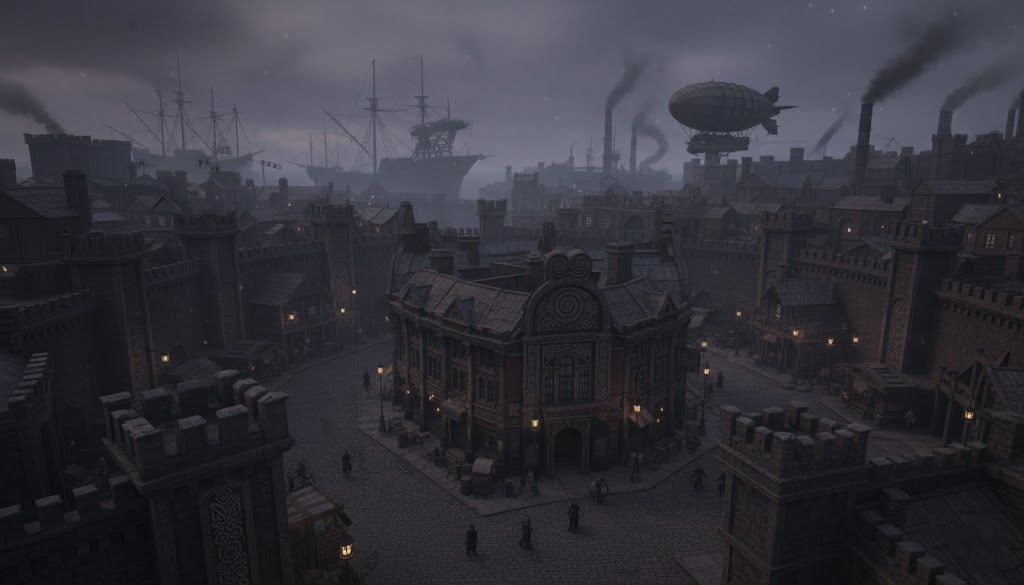
🌏 World & Locations
The world spans from the sheltered port town of Port na Carraig to the dangerous crossroads of Glasgow. Each region grows harder as you venture further from home.
World Map
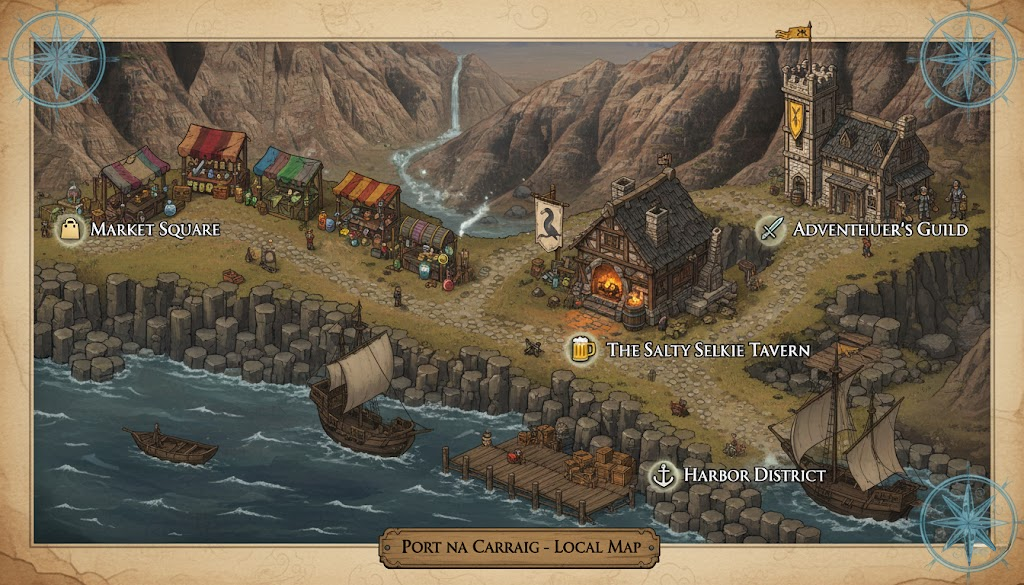
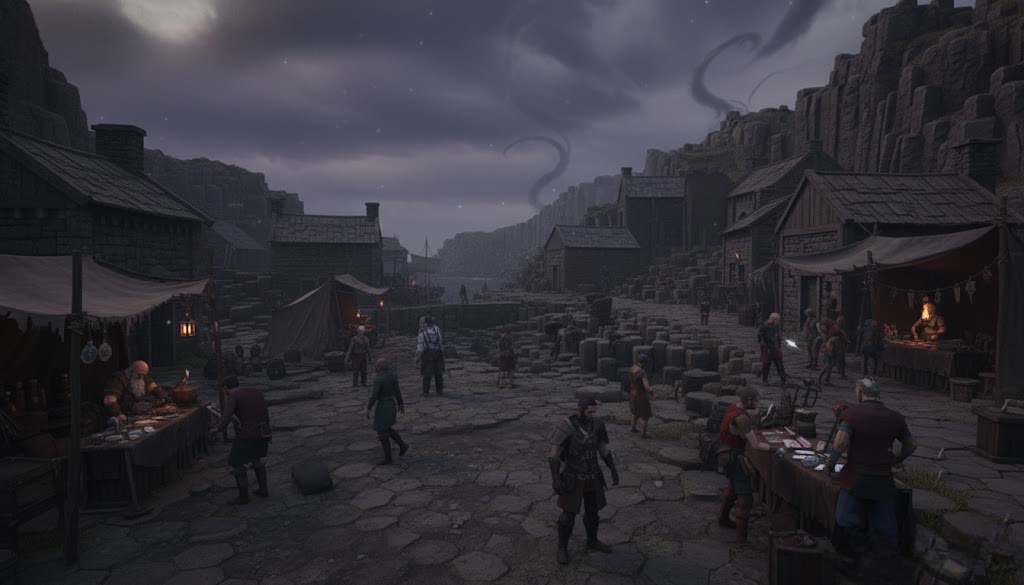
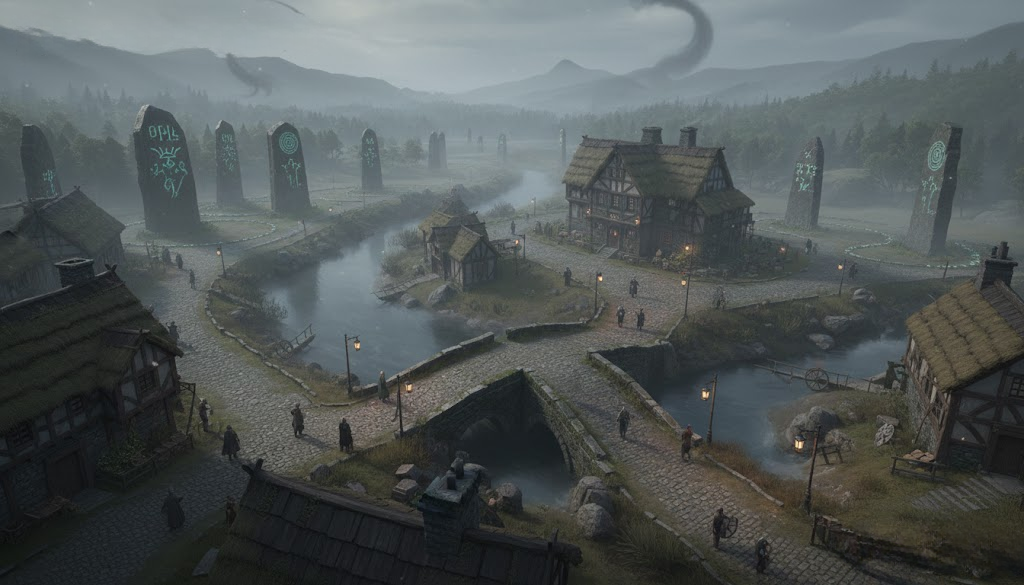
Port na Carraig — Town Locations
Your starting town. Talk to everyone — each location has characters and services to discover.
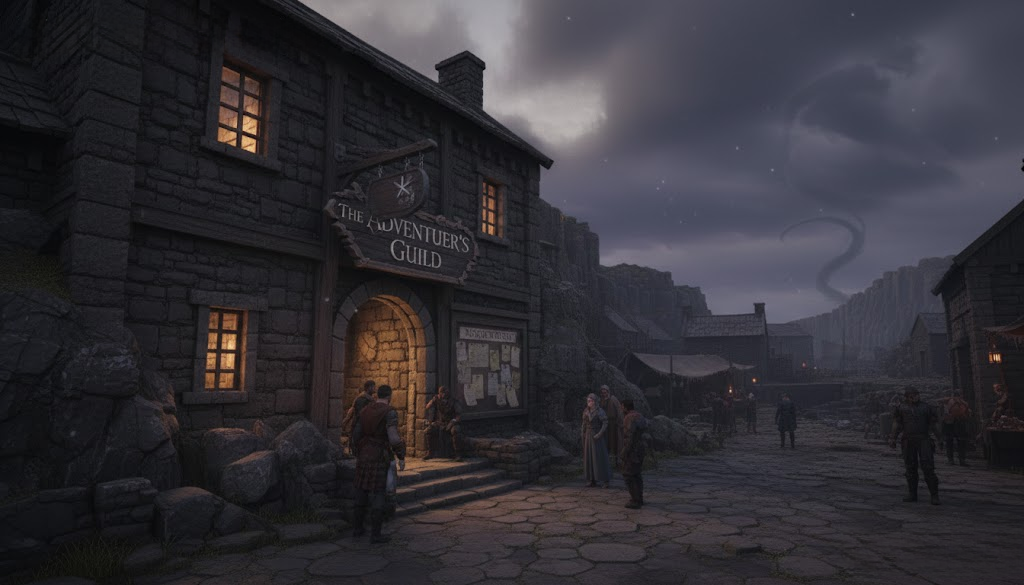
👥 NPC Index
Every major NPC in Port na Carraig — who they are, where to find them, and what they can do for you. Talk to everyone; everyone has something to offer.
Talk To These First

A retired adventurer who now spends his days making sure newcomers don’t repeat his mistakes. Twenty years of dungeon experience distilled into brutally practical advice. Your first conversation with him can save your life.
- Free combat tutorial — learn Attack, Defend, and Abilities before your first dungeon
- Party composition advice (always bring a healer!)
- Zone recommendations by level
- Survival tips and potion strategy

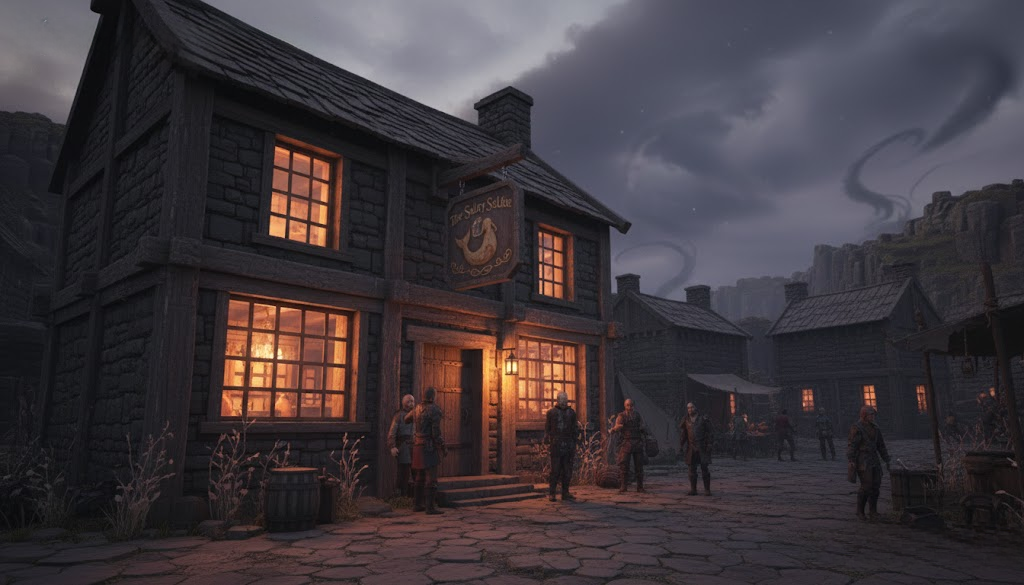
The tavern keeper and the town’s unofficial loremaster. Named for the legendary Una (Finn McCool’s wife), she claims descent from that lineage — and her encyclopedic knowledge of the giants suggests she may not be lying. Her family has run the Salty Selkie for twelve generations.
- Quest: “The Wishing Chair” — her daughter is missing. Reward: 200g, 500 XP, Giant’s Slumber spell
- Lore about the giants, Finn McCool, and Benandonner
- Tutorial quest chain — she guides you through the first dungeons
- Backstory on every region of the map
Services & Shops

Siobhan was taken in by Oona as a teenager and never left. She runs the bar with a quick wit and a rolling pin she has definitely used. She stocks a rotating selection of drinks that do double duty as consumables in the field.
- Light Ale (5g): Restores 20 HP — cheap field healing
- Hearty Mead (15g): Restores 40 HP + 20 MP
- Courage Brew (25g): +2 STR for 3 turns
- Scholar’s Wine (25g): +2 INT for 3 turns
- Giant’s Stout (50g): Full HP restore
- Mystic Spirits (50g): Full MP restore

A dwarf who claims his family helped Finn quarry the causeway stones. He tests stone authenticity by kicking them — which is how he earned the nickname. His shop stocks standard and exotic gear, and his enchanting service can upgrade equipment beyond its base category.
- Potions (Healing, Mana, Antidotes) — buy before every dungeon run
- Weapons and armor up to mid-tier
- Enchantment services (Dwarves get +15% success rate)
- Exotic items: Giant’s Marble (stuns all enemies), Echoing Horn (reveals passages)
- Quest: “The Merchant’s Boot” — find a gemstone in Port Notha

The fastest ferry captain on these waters — and the only one willing to navigate the routes to Belfast and Glasgow anymore. Her prices reflect the genuine danger, but she’s worth every coin. Prove yourself in the field and she’ll give you a discount.
- Belfast Quarter ferry: 500g (half-off with discount)
- Glasgow Crossroads ferry: 1,000g (half-off with discount)
- Quest: “Proving Your Worth” — defeat 10 Causeway enemies for a permanent 50% discount
- Access to mid and high-level zones
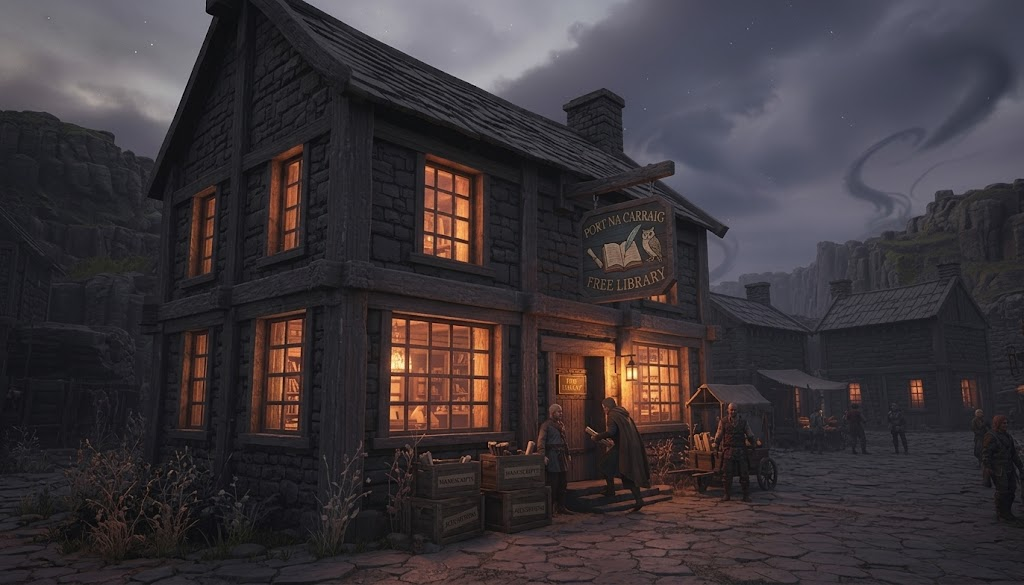
Lore & Information

A meticulous archivist who has catalogued every documented encounter in the region. “Bean Leabhair” means “woman of books” in Irish, and she lives up to it — her field notes are available to any adventurer willing to read them.
- Full explanation of the Challenge Rating (CR) system — Normal / Heroic / Legendary tiers
- Detailed zone difficulty breakdowns and level recommendations
- Enemy information — resistances, special abilities, XP values
- Field notes on dungeon ecology and rare encounters
- Champion and Elite variant information

An ancient elven Samurai of terrifying competence — she was there when the magical storm created the Giant’s Causeway. Over three centuries of maritime history live in her memory. She doesn’t talk much, but when she does, take notes.
- Quest: “The Sailor’s Lament” — high-level sea content (requires strong party)
- Historical lore on the creation of the Causeway
- Information on sea routes and maritime dangers
- Access to her ship as a fast travel point (high-level)
Quest Characters
Oona’s daughter, last seen at the Wishing Chair three days ago. She went to investigate reports of strange lights and didn’t come back. Reaching her is the goal of “The Wishing Chair” quest — what she tells you when you find her sets the stage for the rest of the story.
- Completes the “The Wishing Chair” quest objective
- Lore about the ancient carvings and sealed doorways in the caverns
- Sets up the “Ancient Warning” and later quests in the main story chain
☠ Monsters & Enemies
Click any monster card to view full stats, drop tables, and animated isometric sprites in the Bestiary.
Port na Carraig — Beginner (Levels 1–3)
Common vermin. Perfect for learning combat mechanics.
View in Bestiary →Fast birds. Good for practicing AoE spells.
View in Bestiary →Can inflict disease. First real step up in difficulty.
View in Bestiary →Can dive-bomb back-line characters. Teaches positioning.
View in Bestiary →Giant's Causeway — Early (Levels 3–5)
Pack tactics. This is where real tactics start to matter.
View in Bestiary →High defense. Magic attacks work better than physical.
View in Bestiary →Ethereal — can phase through defenses. Use mixed damage.
View in Bestiary →Belfast Quarter — Mid (Levels 5–8)
Wail stuns entire parties. Silence her immediately!
View in Bestiary →Undead — resistant to physical. Use Divine magic.
View in Bestiary →Restless spirits. Can possess party members. Extremely dangerous!
View in Bestiary →Glasgow Crossroads — Advanced (Levels 7+)
Scottish werewolf. Devastating melee. Howl buffs allies — kill fast!
View in Bestiary →Single blow can one-shot unprepared characters. Worth 33 rats in XP!
View in Bestiary →Highest XP reward in game. Perfect party coordination required.
View in Bestiary →⚡ Challenge Rating System
When you enter a dungeon, you choose a difficulty tier. Higher tiers reward dramatically more XP and gold — but the enemies are deadlier versions of themselves.
Normal
No requirementStandard enemies with base stats. Ideal for learning the dungeon layout and building gear.
- Stats: Baseline HP & attack
- Rewards: Standard XP & gold
- Names: Normal names (e.g., Rat, Wulver)
Heroic
Avg. party level 5+Enemies marked with “Cursed” prefixes. Tougher, faster, and more resistant.
- HP: ×1.5 base HP
- Attack: ×1.25 base attack
- Rewards: ×1.75 XP & gold
- Names: “Cursed Rat”, “Cursed Wulver”…
Legendary
Avg. party level 10+Enemies marked with “Void” prefixes. Near-endgame power with massive rewards.
- HP: ×2.5 base HP
- Attack: ×1.75 base attack
- Rewards: ×3.0 XP & gold + extra loot
- Names: “Void Rat”, “Void Ossuary Sentinel”…
⚡ Elite & Champion Enemies
Within any difficulty tier, one enemy per group may be randomly promoted to Champion status. Champions display a ⚡ badge and glow gold in combat.
- Stats: ×1.8 HP, ×1.5 attack, +25% physical resist
- Champion chance: 20% Normal • 35% Heroic • 50% Legendary
- Guaranteed loot drop regardless of normal drop chance
- Strategy: Focus the Champion first — or it will outlast your party!
💡 Essential Tips
🛡️ Party Composition
- Always include at least one healer (Priest/Bishop)
- 2–3 front-line fighters to protect casters
- A Thief for trap detection and locks
- Diversity is strength — don’t build 6 fighters!
⚡ Combat Strategy
- Target enemy casters first — most dangerous
- AoE spells against groups; single-target for bosses
- Status effects (sleep, paralysis) can win battles outright
- Divine Shield can prevent party wipes
📈 Leveling Efficiency
- Leave starter zones by level 3
- One Causeway Giant = 33 Rats in XP!
- Quest XP is substantial — prioritize quests
- Dead characters gain no XP — keep everyone alive
💰 Resource Management
- Resting in dungeons is dangerous — bring potions instead
- Conserve MP — don’t waste spells on weak enemies
- Retreat to town when resources are low
- Invest in equipment upgrades — they pay off!
⚒ Crafting Systems
Smith equipment at Seamus Stonefoot’s forge in Port na Carraig. Dwarves receive +15% success rate; Humans +5%.
Copper Sword
Iron Sword
Silver Sword
Mithril Sword
Iron Battleaxe
Iron Platemail
Scale Armor
Dragon Scale Armor
💡 Tip: Failed forges lose up to half the materials. Use a Dwarf crafter for best results!
Brew potions at the Mage Academy Alchemy Lab. Gnomes receive +15% success; Elves +10%; Humans and Halflings +5%.
Minor Health Potion
Minor Mana Potion
Antidote
Health Potion
Mana Potion
Greater Health Potion
Phoenix Elixir
💡 Tip: Failed brews still consume half the materials. Stock up on Meadow Grass early — it drops from Rats!
Runes and enchantments are applied at Seamus Stonefoot’s forge. Purchased with Oathgold (earned through deeds), not crafted.
Rune of Protection
Rune of Striking
Rune of Speed
Master Rune of Iron
Master Rune of Fury
Legendary Rune of Kingship
💡 Tip: Oathgold is earned by completing quests and contracts. Lords and Dwarves earn Oathgold faster.
Where to farm crafting materials. Higher-tier zones drop better materials.
| Material | Tier | Best Source | Zone |
|---|---|---|---|
| Meadow Grass | Starter | Rat (30%), Raven (50%) | Port na Carraig |
| Ragged Leather | Starter | Rat (60%), Giant Rat (50%) | Port na Carraig |
| Copper Ore | Common | Frittening (30%), Giant Rat (15%) | Giant’s Causeway |
| Healing Herb | Common | Goblin Archer (20%), Dire Raven (40%) | Giant’s Causeway |
| Iron Ore | Common | Goblin (30%), Goblin Archer (30%) | Giant’s Causeway |
| Silver Ore | Uncommon | Orc (15%), Wulver (25%) | Belfast / Glasgow |
| Nightshade | Uncommon | Bean Nighe (50%), Sluagh (40%) | Belfast Quarter |
| Moonpetal | Rare | Wailing Wight (20%), Bean Nighe (40%) | Belfast Quarter |
| Mithril Ore | Rare | Troll (10%), Causeway Giant (30%) | Glasgow Crossroads |
| Dragon Scale | Legendary | Dragon (70%) | Glasgow Crossroads |
Remember, adventurer: The world of Witchery MMO is dangerous but rewarding. Talk to NPCs, explore thoroughly, and never underestimate your enemies. Form strong parties, manage your resources wisely, and the legends of your deeds will echo through the ages!
— Finn O'Sullivan, Adventurer's Guide